Setting up a dedicated charging station for your devices can simplify your daily routine and keep your space clutter-free. Whether you have smartphones, tablets, smartwatches, or other gadgets, a well-organized charging area ensures everything stays powered and easy to find.
In this guide, we’ll walk you through the process of creating a functional and stylish charging station that fits your needs.
Why Set Up a Charging Station?
With multiple devices in most households, cords often become tangled and chargers misplaced. A charging station:
– Centralizes devices in one spot
– Reduces clutter and cord mess
– Makes it easier to charge multiple gadgets simultaneously
– Prevents lost or misplaced chargers
– Helps extend device and cable life by organized storage
Step 1: Choose the Right Location
The first step is picking a convenient and accessible spot for your charging station. Consider the following:
– Near a power outlet to avoid extension cords
– A surface where devices can be safely placed (desk, shelf, countertop)
– A location away from water or food to protect electronics
– A space with enough room for all your devices and chargers
Some popular spots include near the front door (to grab devices on the go), bedside table, living room console, or a dedicated area in your office.
Step 2: Gather Your Supplies
To create an effective charging station, you’ll need a few essential items:
– A power strip or multi-port USB charger to plug in multiple devices
– Charging cables for each device type you own
– Organizers such as cable clips, holders, or boxes to keep cords tidy
– Containers or trays for small accessories like earbuds or watches
– Optional: stands or docks designed for specific devices
Make sure your power strip has surge protection for added safety.
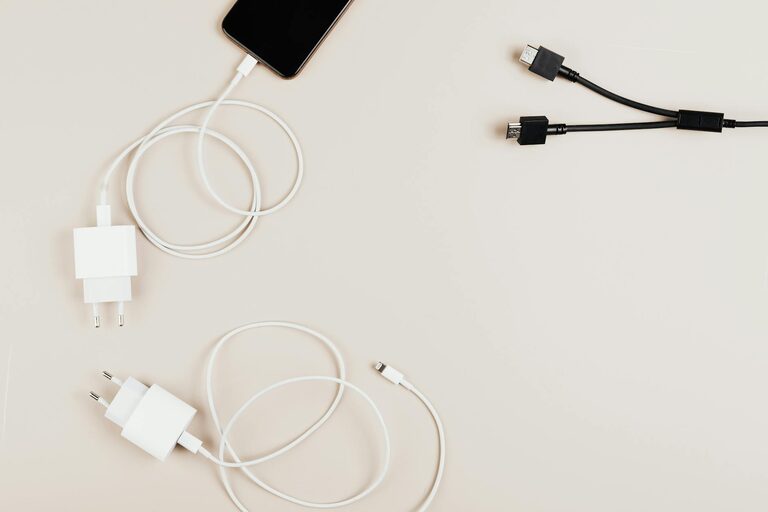
Step 3: Organize Your Devices and Cables
Organizing cables is key to a neat charging station. Here are practical tips:
– Use cable clips or ties to bundle excess cable length
– Label cables if you have multiple similar ones to avoid confusion
– Choose short cables when possible to reduce clutter
– Place cables behind the station or along edges discreetly
– Use a cable management box to hide power strips and excess wires
Step 4: Set Up the Charging Station
Now that your supplies are ready and your location selected, set up your station following these steps:
- **Plug in your power strip or USB charger** and secure it to prevent movement.
- Arrange cables neatly and attach cable organizers where needed.
- Place your devices in a way that allows easy access without overlapping.
- Use stands or holders to keep devices upright and visible.
- Keep frequently used chargers and cables on top for quick access.
- Store extra accessories like power banks or adapters nearby but out of the way.
Step 5: Maintain Your Charging Station
To keep your charging station tidy and functional:
– Regularly declutter and remove unused cables or accessories
– Check cables and chargers for damage and replace if needed
– Wipe surfaces and electronics gently to keep dust-free
– Adjust the setup if your device collection changes or grows
Additional Tips for an Effective Charging Station
– Consider wireless chargers: They reduce cable clutter and simplify charging for compatible devices.
– Use smart chargers: Some chargers offer fast or adaptive charging based on device needs.
– Personalize your station: Incorporate a small lamp, decorative items, or a charging station dock with integrated design.
– Secure devices: If kids or pets are around, use enclosures or covers to protect cables and devices.
– Label power strips or sockets: This helps quickly identify which charger corresponds to which device.
Conclusion
Setting up a charging station at home is a practical way to manage your tech devices while keeping your space clean and organized. By following the steps above, you can create a customized charging area that suits your lifestyle and keeps all your gadgets powered up and ready to go.
Give it a try today and enjoy the convenience of an efficient charging station tailored to your needs!